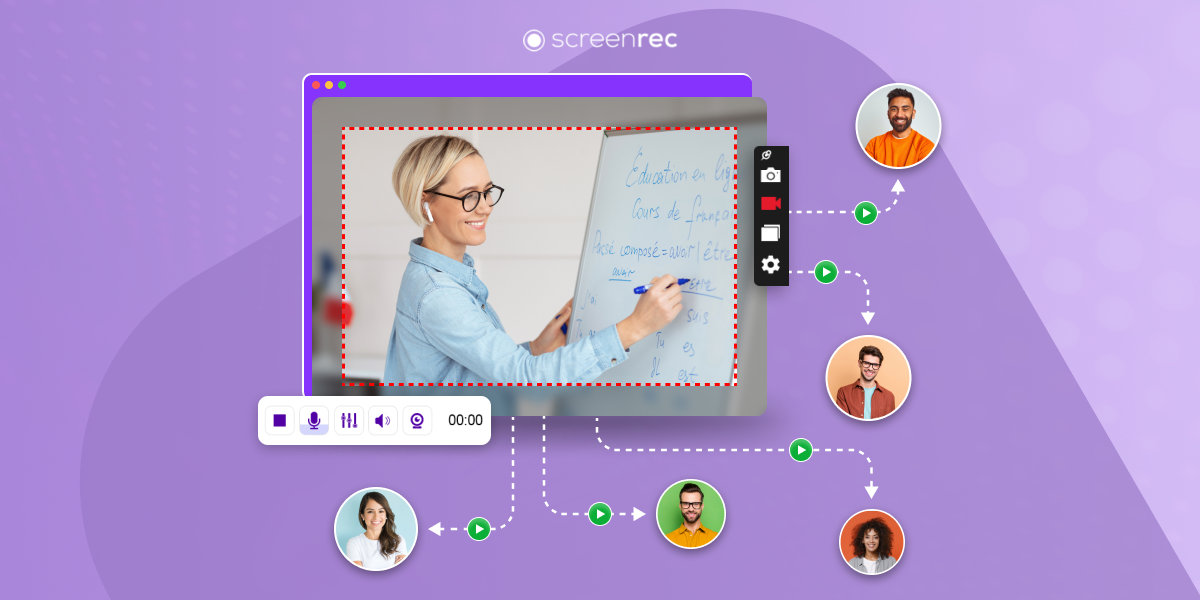
However, pressing the record button is only the beginning. Professional results depend on choosing software suited to your workflow, capturing clean audio, controlling what appears on screen, and editing the recording so viewers are not forced to watch every hesitation or mistake.
The right tool may be a free application with advanced controls, a complete recording and editing package, or a cloud-based service designed for quick sharing. These are the leading options for different types of users.
Screen-Recording Software Compared
| Software | Ideal for | Platforms | Editing | Payment model |
|---|---|---|---|---|
| OBS Studio | Free advanced recording and streaming | Windows, macOS, Linux | Requires separate editor | Free and open source |
| Camtasia | Training and polished tutorials | Windows, macOS | Full timeline editor | Paid plans or license options |
| ScreenFlow | Mac-based tutorial production | macOS | Integrated editor | Paid license |
| Loom | Quick team updates and demonstrations | Windows, macOS, Chrome, mobile | Fast browser-based editing | Limited free tier and paid plans |
| Descript | Transcript-based editing | Windows, macOS, browser recording | Edit video by editing text | Free and paid plans |
OBS Studio: Maximum Control Without a Subscription
OBS Studio is free, open-source software for recording and live streaming on Windows, macOS, and Linux. It is one of the most capable options available, regardless of price.
OBS allows you to build scenes containing a screen, individual application window, webcam, microphone, capture card, image, browser source, and other visual elements. You can switch between scenes while recording, making it suitable for software demonstrations, presentations, webinars, and gaming content.
Its greatest strength is flexibility. You can control resolution, frame rate, encoding, audio tracks, bitrate, hotkeys, and output format. Once configured, OBS can produce excellent recordings without placing limits on duration or adding a watermark.
The compromise is its learning curve. OBS does not include a conventional video editor, and the number of settings can intimidate beginners. You will normally need another application to remove mistakes, add captions, or create animated zooms after recording.
Choose OBS if: You want professional recording controls, do not mind learning the software, and already have a preferred video editor.
Camtasia: Record and Edit in One Place
Camtasia combines a screen recorder with an approachable multi-track editor. It is particularly effective for employee training, online courses, product demonstrations, and customer-support tutorials.
The recorder can capture your screen, webcam, microphone, and system audio on separate tracks. This separation is important. If the narration is too quiet or the webcam needs to be hidden during part of the tutorial, you can make those changes without affecting the screen recording.
The editor includes transitions, titles, annotations, cursor effects, templates, animations, backgrounds, and stock assets. Cursor highlighting and animated zooming are especially useful when demonstrating software with small buttons or complex menus.
Camtasia also integrates transcription and text-based editing features through TechSmith’s Audiate workflow. This can make it easier to remove spoken mistakes, improve audio, and create captions.
Camtasia costs considerably more than free tools, but it can save production time by keeping recording and editing inside a single workflow.
Choose Camtasia if: You regularly create professional tutorials and want a recorder and editor that are easier to learn than a traditional production suite.
ScreenFlow: A Polished Choice for Mac Users
ScreenFlow is a macOS-focused screen recorder and video editor. It can record the screen, camera, and microphone simultaneously, then place the captured material into an integrated editing timeline.
Its editing tools include trimming, titles, transitions, video filters, zooming, panning, audio adjustment, chroma keying, and caption support. ScreenFlow can also record activity across multiple applications, which is helpful when a tutorial moves between a web browser, spreadsheet, presentation, and specialist software.
The interface is more approachable than many professional video editors, while still providing enough depth for training courses, software demonstrations, and presentations.
The obvious limitation is platform support: ScreenFlow is built for macOS. Windows and Linux users will need another option. Buyers should also check compatibility with their version of macOS before purchasing or upgrading.
Choose ScreenFlow if: You produce tutorials on a Mac and want recording and editing tools in one polished application.
Loom: Record, Share, and Collect Feedback Quickly
Loom is designed around speed. You record your screen, webcam, or both, and Loom uploads the finished recording to generate a shareable link.
This makes it particularly useful for remote teams. Instead of arranging a meeting to explain a design change, demonstrate a bug, or review a document, you can record a short walkthrough. Viewers can then leave comments and emoji reactions on the video.
Loom works through desktop applications, a Chrome extension, and mobile apps. It includes captions, basic editing, annotations, webcam frames, and browser-based sharing. Higher-tier plans offer longer recordings, higher resolution, additional editing, privacy controls, and AI-generated summaries or notes.
The free plan is useful for testing the workflow but limits recording length, video quantity, and resolution. Plan features can change, so confirm the current limits before building a company process around them.
Loom is less suitable for elaborate video courses requiring detailed timeline editing. Its real advantage is turning a screen recording into a message that can be shared almost immediately.
Choose Loom if: Your priority is quick communication, simple sharing, and asynchronous collaboration rather than complex video production.
Descript: Edit Your Recording Like a Document
Descript records your screen, webcam, microphone, and system audio, then automatically creates a transcript. Editing the transcript edits the corresponding video.
If you repeat a sentence, go off-topic, or leave a long pause, you can remove that section by deleting the relevant text. This approach is often much faster for beginners than navigating a conventional video timeline.
Descript also provides captions, filler-word removal, audio enhancement, background tools, and link-based sharing. Recordings can be made through its Windows or Mac application, with browser-based recording also supported.
The software is especially effective for narration-heavy tutorials, meeting summaries, product demonstrations, and educational content. Its free plan provides a useful introduction, but media-hour, export-resolution, and AI-feature limits apply. Frequent creators will probably need a paid plan.
Choose Descript if: Your videos contain substantial narration and you prefer editing words rather than manipulating clips frame by frame.
What About Built-In Meeting Recording?
Zoom, Microsoft Teams, Google Meet, and similar platforms may provide their own recording features. When available, the platform’s recorder is often the safest option for meetings because it can notify participants and may follow your organization’s storage and access policies.
However, availability can depend on your plan, account permissions, meeting role, or administrator settings. An external screen recorder may capture what appears on your computer, but it can also bypass the meeting platform’s normal recording notification.
Settings That Produce Clear Screen Recordings
Resolution
For most tutorials, 1920 × 1080 is a practical target. It provides clear text without producing the enormous files associated with 4K. If the software interface contains very small text, increase display scaling before recording rather than expecting viewers to zoom in.
Frame rate
Thirty frames per second is sufficient for presentations, application tutorials, and meetings. Sixty frames per second is useful for gaming, animation, fast scrolling, or demonstrations involving substantial movement, but it requires more processing power and storage.
Recording area
Capture a single application window when possible. Recording your entire desktop increases the chance of exposing private messages, unrelated documents, passwords, or customer information.
Video format
H.264 video in an MP4 container offers broad compatibility. OBS users may prefer recording to a more interruption-resistant format such as MKV and converting or remuxing it to MP4 afterward. This reduces the chance of losing the entire file if the computer crashes during recording.
Audio Quality Matters More Than 4K Video
Viewers will tolerate a slightly soft picture, but they quickly abandon a tutorial with distracting echo, background noise, or inconsistent volume.
An affordable USB microphone placed close to your mouth will normally sound better than a laptop microphone several feet away. Position the microphone slightly to the side to reduce breath noise, and record in a room with curtains, carpets, or soft furnishings to control echo.
Before beginning the full session, record a 20-second test. Confirm that the microphone is selected, system audio is present when required, the webcam is in focus, and your voice does not distort during louder sentences.
Where possible, record microphone and system audio on separate tracks. This allows you to lower notification sounds, improve narration, or remove an unwanted application noise without damaging the rest of the recording.
A Professional Recording Workflow
- Outline the result: Decide what the viewer should be able to do after watching.
- Prepare a clean environment: Close private tabs, disable notifications, and use sample data instead of real customer information.
- Write talking points: A short outline sounds more natural than reading a complete script word for word.
- Run a test: Check audio, screen framing, webcam position, and available storage.
- Record in sections: Short segments are easier to redo and edit than one uninterrupted hour.
- Remove delays: Cut loading screens, repeated explanations, mistakes, and long pauses.
- Add visual guidance: Use zooms, highlights, titles, and annotations only where they improve understanding.
- Add captions: Captions improve accessibility and help viewers watching without sound.
- Review the export: Watch the final file before publishing or sending it to a client.
Frequently Asked Questions
Can I record my screen for free?
Yes. OBS Studio provides extensive recording capabilities without a fee or watermark. Loom and Descript also offer free tiers, although their duration, storage, export, or feature limits may change.
Should I record in 4K?
Only when the additional detail serves a clear purpose. Most business tutorials and meetings look excellent at 1080p. Recording in 4K increases file sizes, editing requirements, upload time, and processing load.
Can screen-recording software capture system audio?
Most leading tools can, but operating-system permissions and audio-routing requirements vary. Always test both system and microphone audio before recording an important session.
Is it legal to record an online meeting?
That depends on your jurisdiction, the participants’ locations, company policy, and the type of conversation. Clearly disclose the recording and obtain appropriate consent. Seek qualified legal advice when the recording contains sensitive or regulated information.
Final Recommendation
OBS Studio offers the strongest value for users who want maximum recording control without paying for software. Camtasia is the more efficient choice for people who regularly create polished training content and want recording and editing in one application. Mac users should also consider ScreenFlow for its streamlined production workflow.
Loom excels at quick demonstrations and team updates that must be shared immediately. Descript is the standout option when the recording contains extensive narration and transcript-based editing can reduce production time.
Whichever tool you choose, prioritize clear audio, a distraction-free screen, concise delivery, and participant consent. Those details will make a larger difference to the finished recording than an impressive list of technical features.